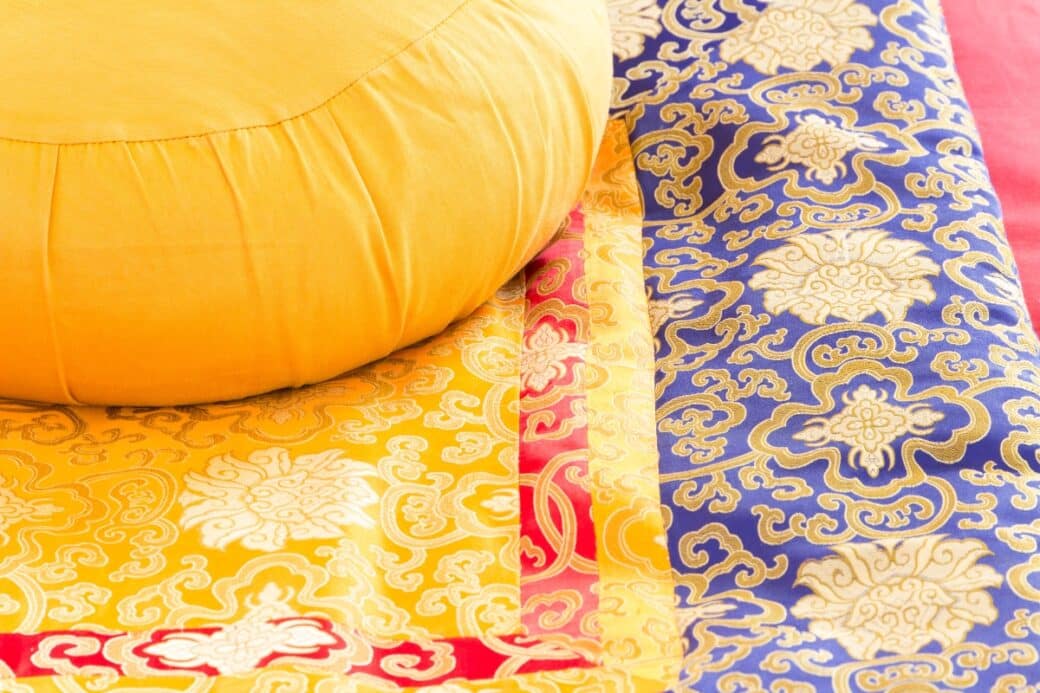
Finding a moment of peace and tranquility amidst the chaos of everyday life can be a challenge. However, with a little creativity and some DIY skills, you can create your very own Zen space right in the comfort of your own home. In this article, we will guide you through the process of creating a meditation cushion, a simple yet essential tool for finding inner peace and calm. So grab your materials and get ready to embark on a journey of self-discovery as we show you how to create your own Zen with a DIY meditation cushion.

Meditation Cushion Diy: Understanding Meditation Cushions
Meditation cushions, also known as zafus, are essential for a comfortable and effective meditation practice. They provide stability and support, allowing you to maintain proper posture and focus on your meditation. Without a suitable cushion, you may find yourself fidgeting and becoming uncomfortable, which can hinder your ability to enter a deep meditative state.
Importance of a Meditation Cushion
A meditation cushion plays a crucial role in creating a serene and comfortable environment for your meditation practice. It helps to elevate your hips and spine, ensuring proper alignment and reducing strain on your joints. By lifting your hips, the cushion helps alleviate pressure on your knees and ankles, making it easier to sit for extended periods.
Moreover, using a meditation cushion supports a straight and upright posture, which is essential for proper breathing and energy flow during meditation. This posture promotes relaxation, stability, and focus, allowing you to fully immerse yourself in your practice and reap the benefits of meditation.

Different Types of Meditation Cushions
When it comes to meditation cushions, there are several types to choose from. The most common ones include round zafus, crescent zafus, and meditation benches.
Round zafus are the traditional choice, featuring a circular shape that provides stability and support. They are suitable for cross-legged sitting postures such as the lotus or half-lotus.
Crescent zafus, on the other hand, have a curved shape that accommodates a wider range of sitting positions. They provide excellent support for people with tight hips or those who prefer different sitting postures.
Meditation benches, also known as seiza benches, are another option worth considering. These benches provide a kneeling posture, relieving pressure on the lower back and allowing for a more extended meditation session without discomfort.
Choosing the Right Cushion for Your Practice
Selecting the right cushion for your practice is crucial for achieving comfort and stability during meditation. Consider your sitting posture, body type, and personal preferences when making your decision.
If you prefer a cross-legged sitting position, a round zafu or crescent zafu would be suitable. Round zafus provide a sturdy and traditional option, while crescent zafus offer more versatility in terms of sitting positions.
For those who experience discomfort or tightness in their hips or knees, a crescent zafu or meditation bench may be more accommodating. The curved shape of the crescent zafu allows for a more open hip angle, while a meditation bench provides a kneeling posture that alleviates pressure on the lower back.
Ultimately, choosing the right cushion is a matter of personal preference and comfort. Consider trying out different options to find the one that best supports your body and enhances your meditation practice.
Materials Needed for DIY Meditation Cushion
Creating your own meditation cushion can be a rewarding and fulfilling experience. Not only does it allow you to customize the cushion to your preferences, but it also gives you a sense of accomplishment and connection to your meditation practice. To get started, gather the following materials:
Types of Fabric Suitable for Meditation Cushions
When choosing fabric for your DIY meditation cushion, opt for a durable and comfortable material. Cotton twill, canvas, or upholstery fabric are ideal choices. These fabrics are sturdy, breathable, and can withstand the weight and pressure from extended use.
Additionally, consider the texture of the fabric. Smooth fabrics can be more slippery, while slightly textured fabrics provide additional grip, ensuring that the cushion stays in place during your meditation.
Choosing the Right Stuffing Material
The stuffing material you choose is crucial in determining the comfort and support of your meditation cushion. Organic buckwheat hulls are a popular choice due to their ability to conform to your body and regulate temperature. They provide firm support and are hypoallergenic.
Alternatively, you can use kapok fiber, which is a natural and sustainable material derived from the kapok tree. Kapok fiber is soft, lightweight, and resistant to mold and pests. It provides a slightly softer and more cushiony feel compared to buckwheat hulls.
Other Materials Required
In addition to fabric and stuffing, you will need a few other materials to complete your DIY meditation cushion. These include a sewing machine, thread in a color that matches your fabric, a pair of scissors, a hand sewing needle, pins, and a ruler or measuring tape.
It’s also worth considering any embellishments you may want to add, such as embroidery or patchwork. These can add a personal touch to your meditation cushion and make it even more special to you.
Selecting Your Design
Once you have gathered all the necessary materials, it’s time to select the design for your meditation cushion. Consider the following factors when making your decision.
Circular or Crescent Designs
Decide whether you prefer a circular or crescent design for your meditation cushion. Circular cushions are the traditional choice and provide stability and support. Crescent cushions, on the other hand, offer more versatility in terms of sitting positions and provide relief for tight hips.
Consideration of Size and Height
Take into account your body type and height to determine the size and height of your cushion. A larger cushion will provide more surface area, allowing for greater stability and comfort. Similarly, if you are taller or have longer legs, a higher cushion may be more suitable.
Adding a Handle or Other Design Elements
Think about adding a handle or other design elements to your cushion. A handle can make it easier to transport your cushion or hang it for storage. Additionally, you may want to consider adding a zipper or buttons for a removable cover, which can help with cleaning and maintenance.

Creating a Pattern
Now that you have decided on the design of your cushion, it’s time to create a pattern. Creating a pattern ensures that your cushion will have a consistent shape and size. Follow these steps to create a simple pattern:
How to Create a Simple Pattern
Start by drawing a circle or crescent shape on a piece of paper or cardboard, using a compass or a round object as a guide. For a circular cushion, measure the desired diameter, ensuring that it is large enough to provide adequate support. For a crescent cushion, sketch a shape that complements your sitting postures.
Next, cut out the pattern and trace it onto another piece of paper or cardboard. This will serve as your master pattern template. Ensure that the edges are smooth and the curve is uniform.
Adjusting the Pattern to Match Personal Design Choices
Once you have your master pattern template, you can make adjustments to match your personal design choices. For example, if you prefer a higher cushion, extend the sides of the pattern to increase the height. You can also adjust the shape of the crescent to cater to your specific sitting postures.
Remember to add a seam allowance of around 1/2 inch to all sides of the pattern to account for the sewing process.
Applying the Pattern onto Your Fabric
With the master pattern template ready, it’s time to transfer the pattern onto your fabric. Lay the fabric flat and pin the pattern onto it. Carefully cut around the pattern, ensuring that the fabric edges stay aligned with the pattern’s edges.
Repeat this step to cut two identical pieces of fabric, which will form the top and bottom of your meditation cushion.
Cutting and Sewing the Pieces
Now that you have your fabric pieces, it’s time to cut and sew them together. Follow these steps for a seamless sewing process:
Proper Techniques for Cutting Your Fabric
Before cutting your fabric, ensure that it is smooth and free from wrinkles or folds. This will help you achieve clean and precise cuts. Use sharp fabric scissors to cut along the edges of the fabric, following the shape of the pattern.
Take your time and make smooth, even cuts to ensure that the pieces fit together neatly.
Sewing Your Pieces Together
To sew the pieces together, place them with the right sides facing each other. Pin the edges together, ensuring that they align perfectly. This will prevent the fabric from shifting during the sewing process.
Using your sewing machine, stitch along the edges, leaving a small opening for stuffing. For added durability, consider backstitching at the beginning and end of each seam.
Once you have sewn all the edges, remove any excess fabric and trim the corners to reduce bulk.
Tips for Managing the Sewing Process
Sewing your meditation cushion pieces together can be a straightforward process with a few helpful tips. Firstly, familiarize yourself with your sewing machine and practice sewing straight lines before starting on your fabric pieces. This will help you build confidence and control.
Secondly, take your time when aligning and pinning the fabric. This will ensure that the pieces are sewn together accurately and create a professional-looking finish.
Lastly, always remember to backstitch at the beginning and end of each seam. This prevents the stitching from coming undone and adds extra strength to your cushion.
Stuffing Your Meditation Cushion
With the sewing process complete, it’s time to stuff your meditation cushion. Follow these steps to ensure even stuffing and maximum comfort:
Determining the Right Amount of Stuffing
The amount of stuffing you use will depend on your personal preference and desired firmness. Start by adding a small amount of stuffing and test the cushion’s firmness by sitting on it. Gradually add more stuffing until you achieve the desired level of support and comfort.
Remember that overstuffing can lead to a rigid cushion, while insufficient stuffing may result in a flat and unsupportive cushion.
Steps for Stuffing Evenly
To ensure even stuffing, start by filling the corners and edges of your cushion. This will create a solid foundation and prevent the stuffing from clumping in the center.
Next, add stuffing to the center of the cushion in small increments, gently pressing it down to create an even distribution. This will help maintain the cushion’s shape and prevent it from becoming lumpy over time.
Using a Funnel to Add Stuffing
Using a funnel can make the stuffing process more manageable and mess-free. Simply insert the funnel into the opening of your cushion and pour the stuffing through the funnel. This allows for precise placement of the stuffing and prevents it from spilling out.
Ensure that the funnel is large enough to accommodate the type of stuffing you are using.
Finalizing Your Meditation Cushion
With the stuffing complete, it’s time to finalize your meditation cushion. Follow these steps for a perfectly finished cushion:
Closing the Opening Effectively
To close the opening of your meditation cushion, fold the raw edges inward and pin them together. Using a hand sewing needle and thread, sew the opening closed using small, even stitches. Ensure that the stitches are tight and secure to prevent any stuffing from escaping.
For added durability, consider reinforcing the closure with a second row of stitches.
Ensuring the Fitting and Comfort
Before using your meditation cushion, take a moment to ensure that it fits comfortably and provides adequate support. Sit on the cushion and adjust your posture as needed. The cushion should help elevate your hips and maintain a straight and upright spine, allowing for a comfortable and focused meditation experience.
Considering Removable Covers
Consider adding a removable cover to your meditation cushion. A removable cover can be easily taken off and washed, ensuring that your cushion remains clean and fresh. It also allows for the option to switch out covers, enabling you to change the look and style of your cushion effortlessly.
Removable covers can be secured with zippers, buttons, or ties, depending on your preference and sewing skills.
Customizing Your Meditation Cushion
Now that your meditation cushion is complete, it’s time to add some personal touches. Consider the following ways to customize your cushion and make it truly unique:
Adding Embroidery or Patchwork
Embroidery and patchwork can add a beautiful and personal touch to your meditation cushion. Consider stitching a meaningful symbol or mantra onto the fabric using colorful embroidery thread. This can serve as a visual reminder of your intentions and enhance the meditative experience.
Alternatively, you can incorporate patchwork by sewing together different fabric pieces to create a collage of colors and patterns. This can create a visually appealing cushion that reflects your individual style.
Choosing Appropriate Colors for Relaxation
Colors can have a significant impact on our mood and emotions. When choosing fabric and embroidery colors for your meditation cushion, consider using soothing and calming tones. Shades of blue, green, and purple are often associated with relaxation and tranquility.
You can also explore color symbolism in meditation and choose colors that align with specific intentions or chakras. This can add an extra layer of depth and meaning to your meditation practice.
Consideration for Non-Slip Bottoms
To prevent your meditation cushion from slipping or sliding during use, consider adding a non-slip bottom. This can be achieved by attaching a non-slip fabric to the bottom of the cushion or sewing a layer of non-slip material into the bottom panel.
A non-slip bottom ensures that your cushion stays in place, allowing you to focus on your meditation without distractions.
Maintaining Your Homemade Meditation Cushion
To maximize the lifespan of your homemade meditation cushion, proper care and maintenance are essential. Follow these tips to ensure your cushion stays clean and in good condition:
Cleaning and Care Tips
Regularly spot clean your meditation cushion using a damp cloth or sponge. If necessary, you can hand wash the cushion with mild soap and water, ensuring that the stuffing remains dry. Allow the cushion to air dry thoroughly before using or storing.
Avoid using harsh chemicals or machine washing, as this can damage the fabric and affect the cushion’s shape and integrity.
Routine Checks for Wear and Tear
Periodically inspect your meditation cushion for any signs of wear and tear. Check the seams and stitching, ensuring that they are intact and secure. Look for any frayed edges, holes, or loose threads that may require repair.
By catching and addressing minor issues early on, you can prolong the life of your cushion and maintain its functionality.
Restuffing or Repair if Needed
Over time, the stuffing of your meditation cushion may compress or break down, affecting its support and comfort. If you notice a significant decrease in cushion firmness, consider restuffing with fresh filling to restore its original shape and support.
In the case of minor repairs, such as loose stitches or small holes, hand sew the affected areas using a needle and thread. For more extensive damage, seek the assistance of a professional seamstress or tailor.
The Benefits of DIY Meditation Cushion
Creating your own meditation cushion brings numerous benefits beyond just having a comfortable seat for your practice. Here are a few reasons why DIY meditation cushions are a great choice:
Personalization and Comfort
Designing and making your own meditation cushion allows you to customize the cushion to your preferences. You can choose the ideal size, height, fabric, and stuffing that best suits your body and meditation practice. This personalization ensures maximum comfort and support, enhancing your overall meditation experience.
Saving Money with DIY
By making your own meditation cushion, you can save money compared to purchasing a ready-made cushion. The cost of materials is typically lower than buying a high-quality cushion, and you have the freedom to choose affordable options without compromising on quality. DIY also eliminates markups associated with retail products.
The Joy of Creating Your Own Meditation Tool
The process of creating a DIY meditation cushion is not only practical but also enjoyable and fulfilling. Engaging in a hands-on project instills a sense of pride and accomplishment as you witness your creation taking shape. It allows you to develop a deeper connection to your meditation practice and adds a personal touch to your sacred space.
Creating your own zen through a DIY meditation cushion is a wonderful way to enhance your meditation practice and embrace your creativity. By understanding the importance of a meditation cushion, selecting the right materials, designing and sewing your cushion, and customizing it to suit your preferences, you can create a cushion that supports your body, nurtures your mind, and brings harmony to your meditation journey.


